
Introduction
I was recently laid off... 👎
But since I hate manually applying to jobs, I decided that the best use of my time would be to automate the job application process using LLMs.
After doing some research, I decided that the two most useful tools for this project would be LangChain and Autoblocks.
- LangChain: It's the leading application framework for weaving together LLM calls to accomplish more complex tasks (that can’t be achieved through single-shot prompting).
- Autoblocks: It allows you to delve into the inner workings of LangChain, which I found extremely helpful for learning (and iterating).
Note: To get the most out of this post, you should be familiar with LLMs, what they’re capable of, and the role that prompts play. Basic knowledge of web scrapers is also useful, although all of the scraping used here is pretty basic. There are certainly tons of ways you could improve this application with more sophisticated scraping.
LangChain Concepts
Admittedly, I didn’t know much about LangChain when I started this project, but these are the concepts I found most helpful.
🔗 Chains: In LangChain, a chain represents a structured workflow or sequence of calls to components (which may include other chains) that are executed in order to accomplish a specific task. It’s like having a step-by-step guide to accomplish your task efficiently.
There are four foundational chains in LangChain:
- LLM chains are like having a conversation with a language model. You give it an input, and it uses its language skills to generate a response. They’re great for one-off tasks like generating text, answering questions, or completing prompts.
- Sequential chains are all about taking things step by step. You make a series of calls to the language model in a specific order, where the output of one call becomes the input for the next. They’re perfect when you need to build upon previous outputs and have a clear progression in your chain.
- Router chains are similar to sequential chains but more dynamic. They help you decide which chain to use next based on the output of previous steps. If you need to take conditional actions or paths, the router chain guides you in the right direction.
- Transformation chains allow you to transform and enhance your inputs as they move through the chain. You can modify, convert, or process the data between different stages. It’s like giving your data a makeover, making it more suitable or useful for the next steps in your chain.
Note: The Chain interface has been deprecated in favor of the LangChain Expression Language (LCEL), but chains are still a very useful concept to understand, and some useful built-in chains will continue to be supported.
💁 Agents: In the LangChain and LLM context, agents are adaptable problem-solvers. They leverage LLMs to analyze inputs, reason about the context, and make informed decisions. Agents determine which actions to take and in what order based on the available tools and context from previous steps. They either return the next action or the final answer to the user.
🛠️ Tools: LangChain tools are functions or services that agents can use to perform specific tasks. They encapsulate functionalities like web scraping, data processing, and calculations. LangChain has a large library of tools, and you can also build your own.
The Job Scraping Process
I wanted my scraper to do two key things.
- I wanted it to fetch a list of job openings based on a specific query, and
- I wanted it to grab a list of desired qualifications for the role.
I mean, I theoretically could have just clicked the links and read the details myself, but where’s the fun in that? 😏
From a LangChain perspective, I opted to handle this as an agent with two tools: one for gathering links to the job postings from a Google search and the other for extracting the target info from those links.
You might be wondering why I chose this approach instead of using a sequential chain. After all, this seems like a textbook use case: the output from the gathering chain is the input to the extracting chain. Valid question.
While I do think that approach would have worked, I ultimately opted for the agent approach because it allows for more flexibility. Additionally, enabling the LLM to reason enhances its ability to manage complex tasks, such as performing retries and error handling.
For instance, if I wanted to add a third task where I used an LLM to write a cover letter for each job , the task would quickly get very complicated using chains. However, with the agent approach, it would be as simple as creating another tool for my agent.
Phase 1: Gathering Job Postings
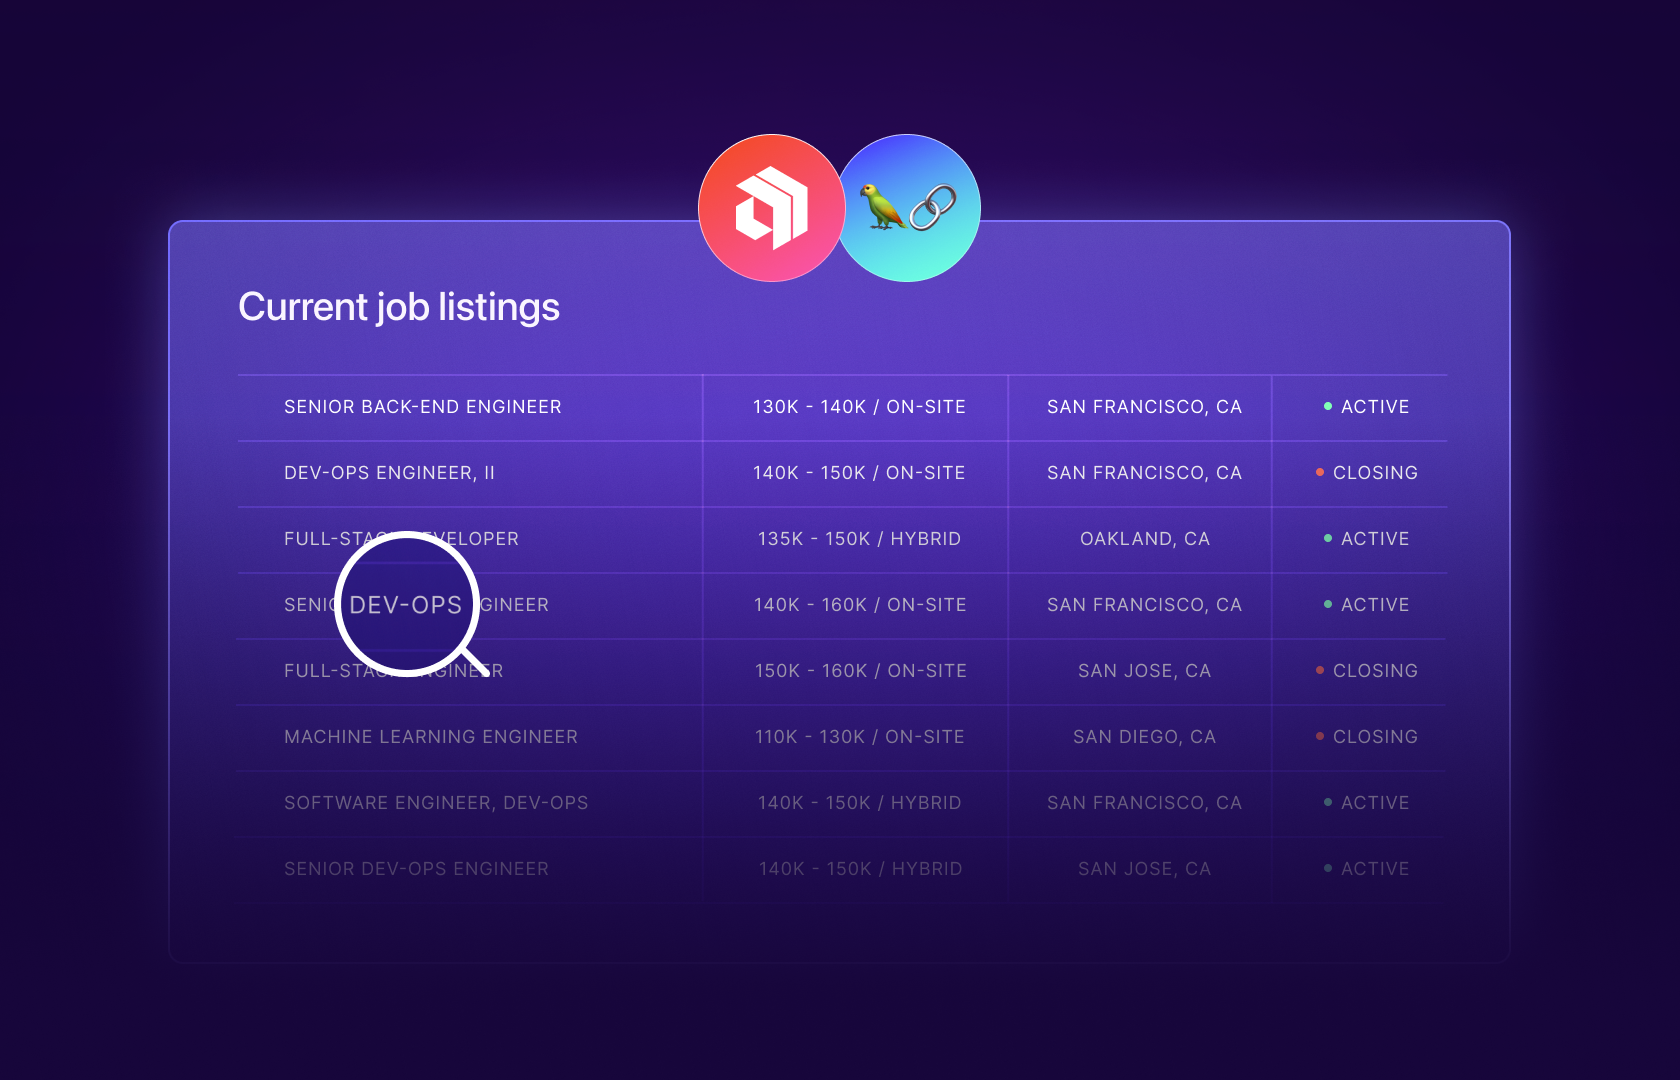
After some exploration, I decided to get my postings from workable.com. Their site was the easiest way to find direct postings from a Google search:

With all the planning done, I was finally ready to write some code.
First, I found a great LangChain tool for searching Google (I just needed to make a free account at serper.dev). Then, I created an Autoblocks account and installed the SDK. Their SDK lets me send events to their platform and view them on a great web-based UI. This is invaluable because it lets me “look under the hood” of my AI application and find opportunities to improve it.
I exposed all of those through a .env file:
OPENAI_API_KEY="key_to_my_heart_is_stomach"
AUTOBLOCKS_INGESTION_KEY="key_to_my_stomach_is_bagels"
SERPER_API_KEY="key_to_bagels_is_cream_cheese"
And my initial class ended up looking like this:
import dotenv
from langchain.llms import OpenAI
from autoblocks.vendor.langchain import AutoblocksCallbackHandler
from langchain.utilities import GoogleSerperAPIWrapper

dotenv.load_dotenv("../../.env")

search = GoogleSerperAPIWrapper()
llm = OpenAI(temperature=0)
handler = AutoblocksCallbackHandler()
Next, I needed to build the tool utilizing the SerperAPIWrapper:
def get_job_search_results(query: str) -> list[Any]:
        """Searches google for the exact query provided by the user."""
        print('Query:    ', query, '/n')
        results = search.results(query)
        return results

tools = [
        Tool(
            name='Get search results', # must be unique amongst tools provided to agent
            func=get_job_search_results, # the actual function the tool will perform
            description=f"Useful for when you need to search.", # The description is how the agent knows what tool to use
        )
    ]

agent = initialize_agent(tools, llm, agent="zero-shot-react-description", verbose=True)

agent.run("devops san francisco site:<https://apply.workable.com/>", callbacks=[handler])
Let’s break down the code:
- The
get_job_search_resultsfunction takes a query as input and returns a list of search results from the SerpAPIWrapper. It’s provided as an argument for our tool and specifies what it actually does. - The
nameparameter is self-explanatory. The agent will reference the tool by name as it goes through its process. - The
descriptionfield is technically optional but very important. The agent will look here to determine when and how to use the tool. By default, it refers to the function’s docstring.- A misleading or incorrect description can render the tool useless. For example, if you set the description for this tool as “Useful for deciding where to eat”, the agent wouldn’t know how to use it to search the web, and you would have a tough time finding jobs.
This all gets fed to the agent, along with the string ZERO_SHOT_REACT_DESCRIPTION, which specifies what type of agent to use. As is the case with tools, LangChain has a ton of built-in agents. Zero-shot ReAct is a common one that determines which tool to use based solely on the tool's description.
You’ll also notice that we passed our AutoblocksCallbackHandler to the agent. This component records and publishes all events and actions performed by our agent to the Autoblock platform, allowing us to review and analyze them later.
Now, I was ready for my first run… and it worked!
Well, kind of.
> Finished chain.
There are multiple job postings for DevOps in San Francisco available on the website <https://apply.workable.com/>.
Here, we can see that it made a request to Google and returned a response. However, the output wasn’t very actionable. Ideally, it would give us a list of links to feed to the next step.
Maybe we could solve that with a little bit of prompt engineering, but first, let’s take a look at Autoblocks and see what we can learn.

On the left, you see traces (which are groups of related events that make up a user interaction).
On the right, you see a “run tree” view of one of those traces. Looking at the run tree, you can see how powerful Autoblocks can be while developing with LLMs because you get a detailed view of what’s going on under the hood.
One thing I picked up while working in Autoblocks was that agents are ultimately chains (note that the first thing the executor did was start an LLMChain).
We touched on the ReAct framework a little earlier, but looking at the run trees, I found the prompt that it actually gets passed:

We’re told that it has access to our “[Get search results]” tool and that it should follow a “Thought/Action/Action Input/Observation” pattern that it can “repeat N times.” All of this gets logged in the trace.
After reviewing the output, it’s clear that the agent understands the need to search for jobs, utilize the provided tool, and directly input our query into the tool. Super cool!
Now that we know how it works, we can think more intelligently about how to use it.
Next, let’s see what the SerpAPI retrieved and passed back to OpenAI for analysis:

We can see that we did indeed get a bunch of workable links from our query, but just need to make our agent a bit more sophisticated to extract them.
This could probably be handled in a more sophisticated prompt, but let’s try to do this with a second tool (the flexibility of agents is already coming in handy 🙏):
def get_links_from_search_results(postings: dict) -> list[Any]:
        """Extracts the links from the search results."""
        links_list = []
        for i in range(10):
            link = postings.get("organic")[i].get("link")
            links_list.append(link)

        return links_list

# Now we add this to our toolkit:
tools = [
        Tool(
            name='Get job search results',
            func=get_job_search_results,
            description=f"Searches google for jobs using the users exact input.",
        ),
        Tool(
            name='Get links from results',
            func=get_job_search_results,
            description=f"Extracts the apply.workable.com link from the results.",
        ),
    ]
Here’s our new output after running it through our revised agent:

Hooray! We now have a list of links from our search. 😄 You'll see that in the run tree, there are now two calls to langchain.tool, which makes sense given it has two tools to play with.
Phase 2: Extract Details About the Positions
I think you’ve probably guessed what comes next… another tool!
In fact, a few other tools.
It turns out that the links we extracted don't always directly lead to the postings themselves. Instead, they usually make an API call to retrieve the details. So I created a tool to transform the extracted links into the appropriate format for the API. I won't bore you with the specifics… it's all in the code.
Our tool for extracting job info is a little bit more complex:
from llama_index import GPTVectorStoreIndex, download_loader
from langchain.agents import initialize_agent, Tool
from langchain.chains.conversation.memory import ConversationBufferMemory
And we add it to our agent’s toolkit like we did the others:
tools = [
		.........
        Tool(
            name="Job detail scraper",
            func=lambda q: query_engine.query(q),
            description=f"Given the details of a job, returns the job details. If details of job are not found, returns an empty list.",
        )
    ]
Here, document loaders and vector stores are pivotal in efficiently handling and processing text data.
Document loaders are tools created to extract data from various sources, which are treated as unique "documents." These loaders can handle different types of data, such as files, APIs, and web pages. They read and convert this data into a uniform format, preparing it for further processing and analysis.
Here, we are using the BeautifulSoup document loader.
To demonstrate what the data looks like once it's been loaded, I turned to Autoblock’s Explore page. Autoblocks gives you fine-grained control over what to send them, including defining your own events:
#Defining the tracer
tracer = AutoblocksTracer(
    ingestion_key=os.environ["AUTOBLOCKS_INGESTION_KEY"],
    trace_id=str(uuid.uuid4()),
    properties=dict(
        provider="openai"
    )
)

BeautifulSoupWebReader = download_loader("BeautifulSoupWebReader")
loader = BeautifulSoupWebReader()
documents = loader.load_data(urls=[workable_urls])

#Sending the documents to Autoblocks
tracer.send_event("document_loader.data", properties=dict(documents=documents[0].json()))
Now, if we take a look at the Explore page for our document_loader.data we can see the difference between what got loaded by BeautifulSoup compared to the raw data.

Note: The extracted version doesn't have HTML tags and is generally trimmed down.
Vector stores function as well-organized text data libraries. They take the text data and transform it into numerical representations known as vectors, enabling efficient retrieval and similarity searches. This functionality proves invaluable for tasks such as information retrieval, similarity matching, or the clustering of text data.
Technically, we don’t really need the vector store since we could just pump the raw data into our LLM and have it answer our questions. But the nice thing about vector stores is that they allow us to be more efficient with our token usage.
The vector representations of the text are typically more compact than the raw text and when querying the vector store using the query_engine, the language model doesn't need to process the entire text of the job details. Instead, it can search for relevant information based on the vector representations in the vector store.
Now that we’ve got all of this set up, let's try running it and see what happens. 👀
I'd like to know the required technologies for this job and its location. I noticed that the search results were showing jobs outside of San Francisco, despite our original Google query.
My prompt ends up looking like this:
output = agent_chain.run(input="What specific technologies and skills are desired for this job? Where is it located?", callbacks=[handler])

Again, we’re looking at the trace tree in Autoblocks to evaluate how the application is working as we build upon it. We can see the prompt that the agent was given, along with its “thinking” process.
It gives a very nice summary of the job as a whole, and in its “final answer,” it answers my original question.
Woohoo!
Awesome, now that we have our program searching for jobs and extracting the right information, it’s time to filter for the jobs that seem most interesting.
For that, we’ll turn to Autoblocks’ Evaluators feature. The platform enables you to create event/trace labels and configure custom evaluators. These evaluators automatically scan the traces and append labels based on criteria you define (through natural language prompts).

Personally, I’m most interested in jobs that involve Kubernetes that are based in San Francisco, so I set up a filter on the Explore page:

Conclusion
I hope this blog has been helpful in teaching you about the core concepts of LangChain: Agents, Tools, and Chains. It's an exceptionally powerful tool that I'm really bullish about.
Moreover, you saw how an LLMOps platform like Autoblocks can help you understand and improve your product through rapid iteration.
Happy building!